video
-
What is Reconstituted Wood Veneer?

-
How-to Apply Wood Veneer to MDF using Contact Cement
-
How-to Use PVA Glue for Wood Veneer Application
-
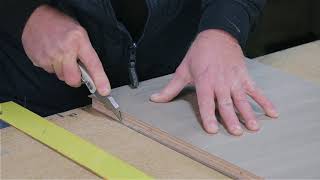
What are the Best Tools for Cutting & Trimming Wood Veneer

application
-
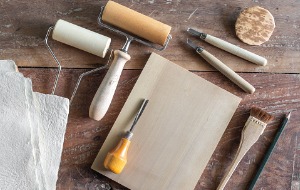
Veneer Application & Installation Hints
It's absolutely critical to use maximum pressure when smoothing out the veneer. Read More
-
Wood Veneer Acclimation
Wood veneer, like all natural wood materials, is affected by changes in the environment. Read More
-
Hints for Applying Veneer with Contact Cement
Using a vacuum, cold, or hot veneer press with white or yellow glue is the preferred method for applying wood veneer. Read More
-
Contact Adhesive Trouble Shooting Guide
A vacuum press, hot press or cold press are the preferred methods of veneer installation. Read More


-
Tips & Techniques for Veneer PSA Veneer .
All surfaces require preparation before applying any peel and stick veneer. Read More
-
Here's an alternative to using contact cement when traditional press methods aren’t available.
All surfaces require preparation before applying any peel and stick veneer. Read More
-
How to Judge Spray Adhesive Coverage
If you are using spray adhesive to apply wood veneer, you need to visually recognize the proper amount of adhesive to apply. Read More
-
Avoiding Bubbles & Bubbling in Contact Cement Veneer Installations
Installing flexible paperbacked veneer is not extremely hard - but some basic points must be followed... Read More
-
After Problems Occur with Contact Cement Veneer Installation
So you've installed the wood veneer on to your project and now problems have occurred - cracking, bubbling, etc. Read More
-
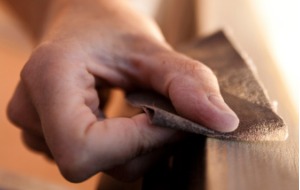
Things to Remember When Sanding Veneer
To get the best out of staining your veneer, be sure to sand it carefully and thoroughly. Read More
-
*Replacing/Removing Wood Veneer
DIY for removing wood veneer can be tough, but we can help walk you through how to replace old wood veneer. Read More


knowledge
-
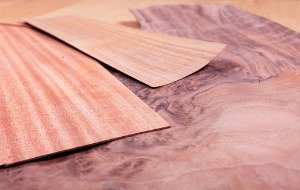
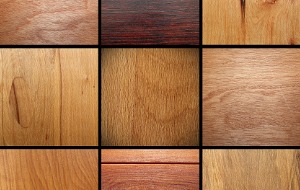
What is Wood Veneer?
Before describing what wood veneer is, it's important to know what the word “veneer” means. Read More
-
Veneer Matching Techniques
The way you match veneer sheets can create visual rythym and enhance your project. Read More
-
Wood Veneer Glossary
10 Mil Veneer - A veneer face of any species applied to a 10 mil paper back. Read More
-


-
 The 15 Common Purchasing Mistakes
you may already know some problems and pitfalls of purchasing flexible wood veneer. Read More
-
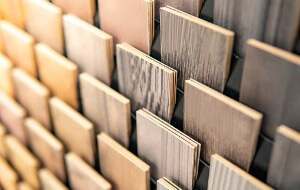
 Buying Laid Up Panels Vs. Veneer Sheets
Trying to determine whether to buy paperbacked sheets or laid up panels can sometimes be a tricky thing. Read More
-
 Veneer Handling & Finishing
Like any serious building material, wood veneer not only requires specific steps for installing, as shown in our extensive "Installation" section. Read More
-
 Wood Veneer vs. Plastic Laminate
Many woodworkers have extensive experience working with plastic laminate products, but have little experience installing wood veneer Read More
-
 Backer Information
At last, there is a superior quality flexible wood veneer! It has all of the features you are seeking and most of our species are available in it. Read More
-
 The Cuts Used to Create Veneer
The size of the log, the species of wood, the grain pattern desired and other factors determine which type of cut will be made to create veneer. Read More
-
 *Thickness of Wood Veneer Sheets & Backers
At Oakwood Veneer, one of our most frequently asked questions is regarding how thick our wood veneer is with varying backers. Read More